Creating a Cog in Blender Using Manual Extrusion and Bevels
Today I tried a second method for creating a cog in Blender — this time without Geometry Nodes. The idea was to build a clean, single object that works well with hard-surface modifiers like Bevel, and to do it as quickly as possible using only standard modeling tools.
Steps taken:
-
Start with a cylinder
Add a cylinder with the number of side vertices matching the desired tooth count × 2 (since we extrude every other face).
-
Select alternating side faces
Switch to Face Select mode, select the side faces, then use
Select → Checker Deselectto keep every other face active. These will become the teeth. -
Extrude teeth outward
Press
Eto extrude and thenAlt+Sto push the new geometry along the normals. This forms an even set of teeth around the rim of the cylinder. -
Add support edges with Bevel
With the new teeth still selected, press
Ctrl+Bto bevel and create a clean transition edge. This helps the cog hold its shape under shading or further bevels. -
Cleanup on the top surface (optional)
If subdivision or boolean operations are planned later, replace the default ngon cap with a quad layout using
Grid Fill. Otherwise the default cap is fine for hard-surface beveling.
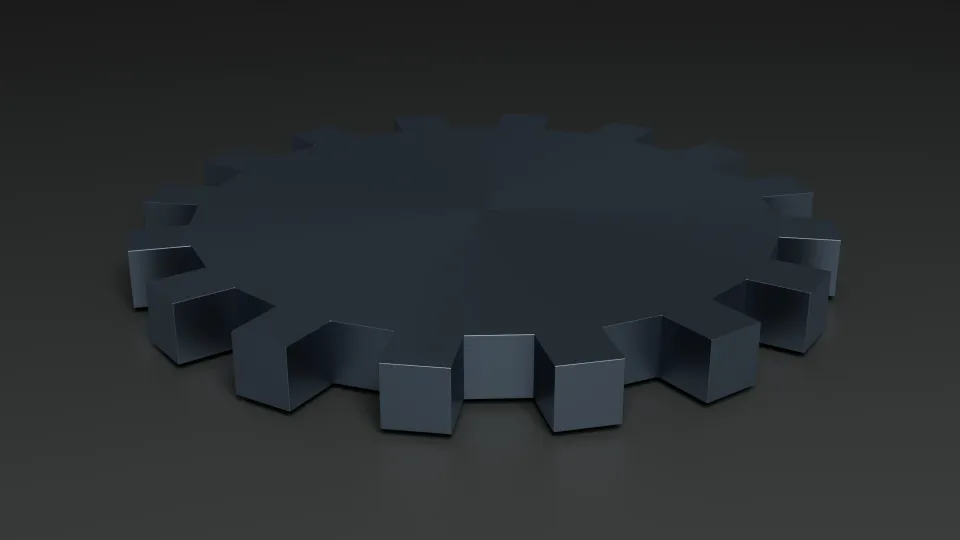
Here's how it looks:
