Creating a Cog in Blender: Why Manual Extrusion Works Best
After experimenting with Geometry Nodes and modifier-based methods for creating cogs, I discovered that manually modeling the cog in Edit Mode is the most practical approach. It produces a clean, single object that works perfectly with standard modifiers like Bevel, while being faster and easier to adjust.
Here are the steps:
- Create a cube.
- Add an Array modifier:
- Shape: Circle
- Count: 24
- Central Axis: Z
- Circle Segment: Full
- Radius: Eyeball until the spacing looks correct (around 16 in this case)
- Create a cylinder with 24 side faces (matching the count of cubes).
- Scale the cylinder so that its faces match the size of the cubes (this defines the teeth width).
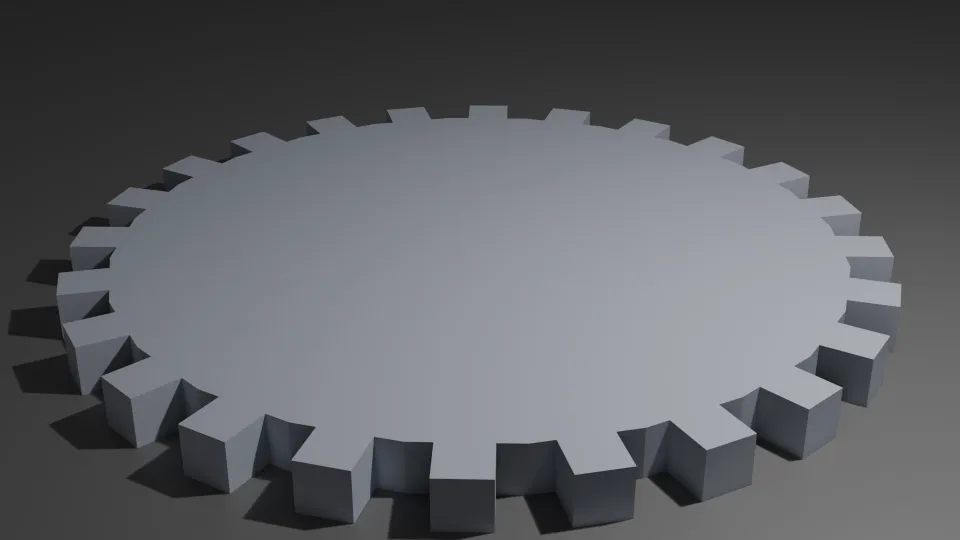
Here's how it looks:

Cog Modeling Findings in Blender:
- Geometry Nodes: Flexible but not practical for quick hard-surface cogs. Difficult to apply standard modifiers like Bevel cleanly.
- Modifier-only method (Array + Circle): Possible, but requires eyeballing radius and cylinder scaling. Produces correct shape, but less precise and harder to tweak.
- Manual method (Checker-select & Extrude): Fast, precise, and fully compatible with hard-surface modifiers. Allows for clean bevels and top-surface cleanup. Recommended approach.
Conclusion: For hard-surface cogs that need modifiers like Bevel or further modeling, the manual checker-select extrusion method is the most convenient approach. You get a single object.